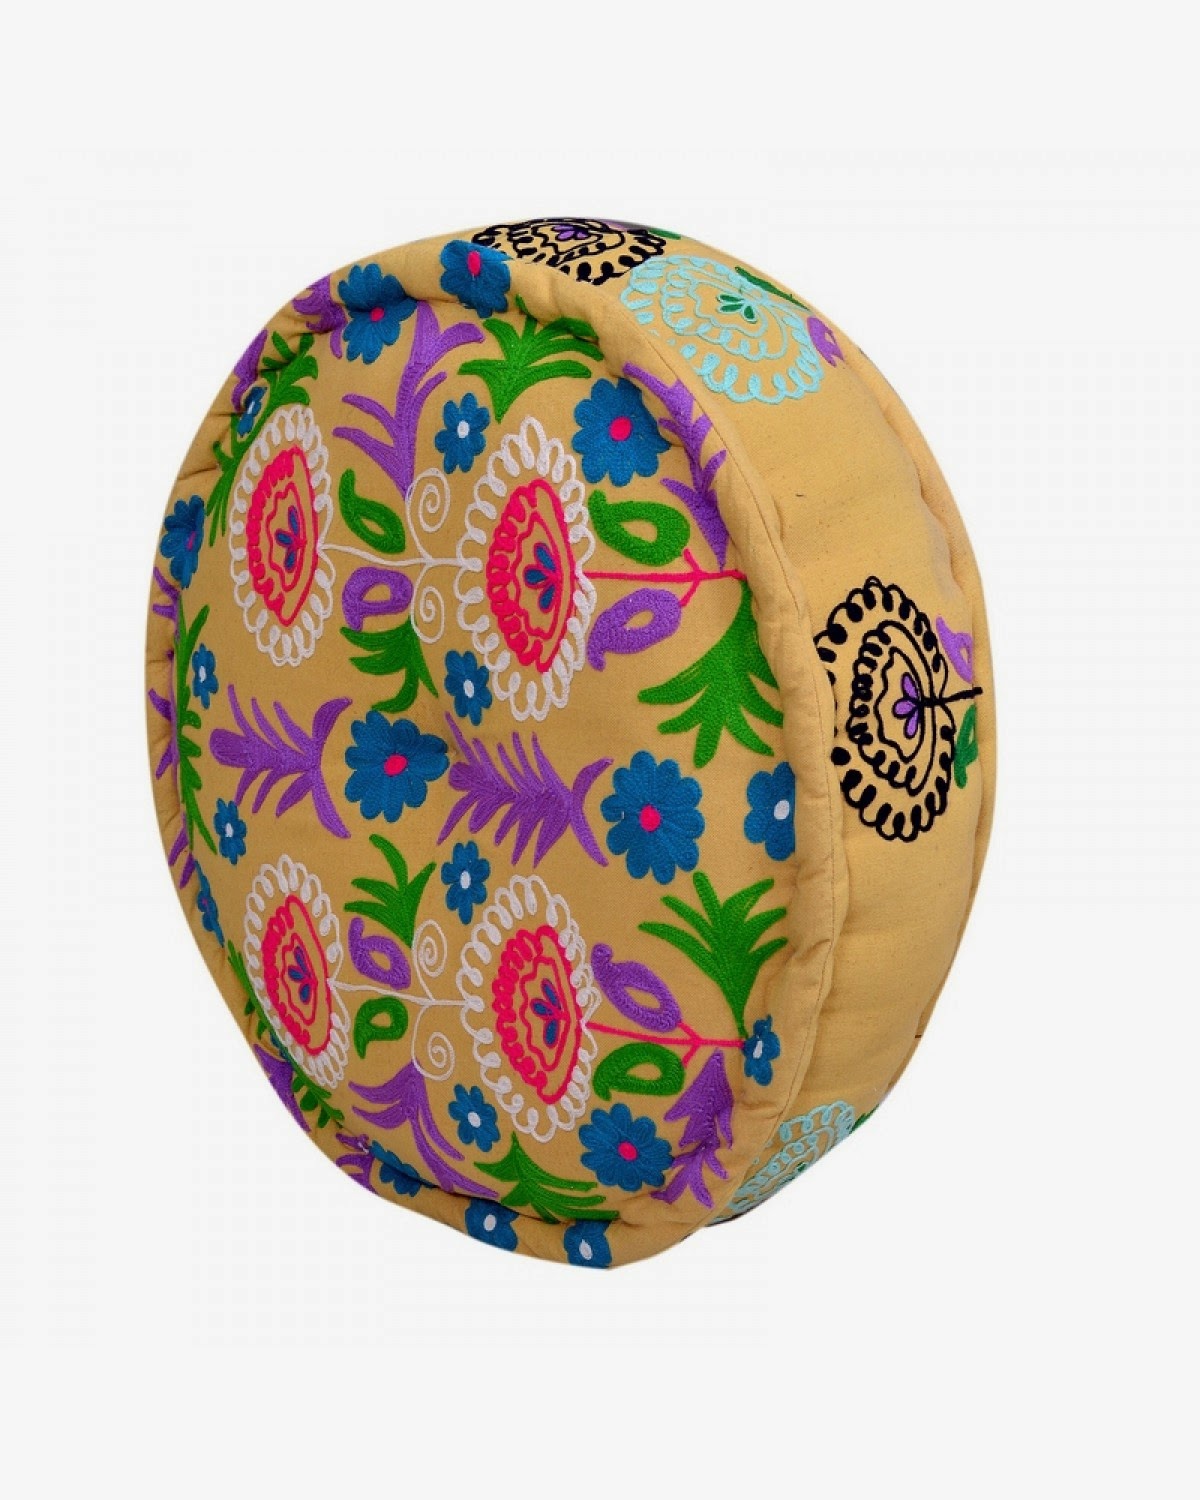
The ideal multipurpose
furniture item a house can have, Ottoman and Poufs have made a raging entrance
into the home decor segment. Drawback? They happen to be rather steeply priced
and when you browse through the innumerable variety and fall in love with
almost all, you land up picking up just a couple
Luckily, Ottomans are
the perfect Do-It-Yourself product. Everyone needs a hobby, and imagine how
idyllic it would be if your hobbies resulted in colorful Ottomans around every
couch and coffee table; a little extra seating and a touch of detail her and
there!
It’s all about what
you want, and now that every step of the process you can intervene, you have
full decision making power – from the prints and shades, to the size and shape.
First up, what do you
want on the outside? Vectors online are always a lovely database to collect
high resolution images from, but if you’re a little too crafty for that then
you can always buy yourself canvas and paint yourself an Ottoman! Not your kind
of thing? How about using a Persian woven textile or embroidered cloth to throw
in a little texture? Once you have the fabric ready with the print or painted
image, it’s time to saw and sew.
Next, what to use as
the frame. That’s the great thing about Ottomans, it needn’t be a well
carpentered cylinder of wood with four legs – it could be an old wooden carton,
a large paint tin, a square rack – you name it!
If this is your first
one, I’d suggest a square wooden box. It’s easily available and not too hard to
work with.

You need a sewing
machine, a couple of yards of the ready fabric, a needle, some matching thread
and foam sheets.
Start by either
sticking the foam with super glue or nailing it on to five of the six box
surfaces. You could use more than one layer to make sure it’s nice and
soft. If it has a lid then leaves that
as a loose piece, making the Ottoman into a little extra storage.
Looking for something
less puffy? You can always just line the box with a layer of felt to soften the
edges and yet retain its firm exterior. Similar to the cloth, make you square
of craft felt and just hand stitch them around the edges of the box. Cut off
the extra along the seams and the base is all set.
Next cut of the fabric
in six squares, one for each side, leaving about an inch extra on all four
sides of the square to give you space to stitch.
Two at the time,
stitch the edges of the squares together to make a cozy little case for the
foam covered wooden box, much like a pillow case.

Slip
it on and see how to looks! Thanks to the foam inside, even if the cover is
just the right fit it’ll still slide on and if you’re satisfied, all you have
to do is hand-stitch the last open seam.

When working with a
lidded box, then the four walls should be covered separately with both foam and
fabric, stretching and folding in the cloth so that it says taut on its own.
Then do the same to the top, covering both sides if need be, and just place it
on the base – voila! The prettiest and most inconspicuous storage space in the
room.
This was one of the hardest, which means from here
on out you can make pretty much anything. A fabric pouf Ottoman is another
lovely addition to a living room or child’s play area. How to go about it?
Instead of a box frame inside, you get yourself about a pound of poly fill to
stuff into the cover like a bean bag, or take it a step further – just fill it
with balled up rags or newspaper to make your own recycled furniture. Want to
go recycled all the way? Stitch together rags of every shape and size like a
large crafty patchwork quilt and stuff it with paper shreds.
Everyone wants to give
their home a little piece of themselves – be it through style, little personal
touches or memorabilia. Do-It-Yourself home furnishing?
What could possibly give you more scope to personalize!
No comments:
Post a Comment